

Start with the problem — not the tools
Too many teams begin with a machine and end up firefighting fit and aesthetics. The real problem is mismatch: a digital design that doesn’t translate to the mouth because of gaps in scanning, file handling, print accuracy, or post-curing. Fix the flow first. Choose equipment that supports repeatable parts of the chain; a robust dental resin 3d printer often becomes the pivot between design intent and clinical reality — you can see how this plays out each time major vendors demo live workflows at the International Dental Show (IDS) in Cologne.
Map the critical handoffs
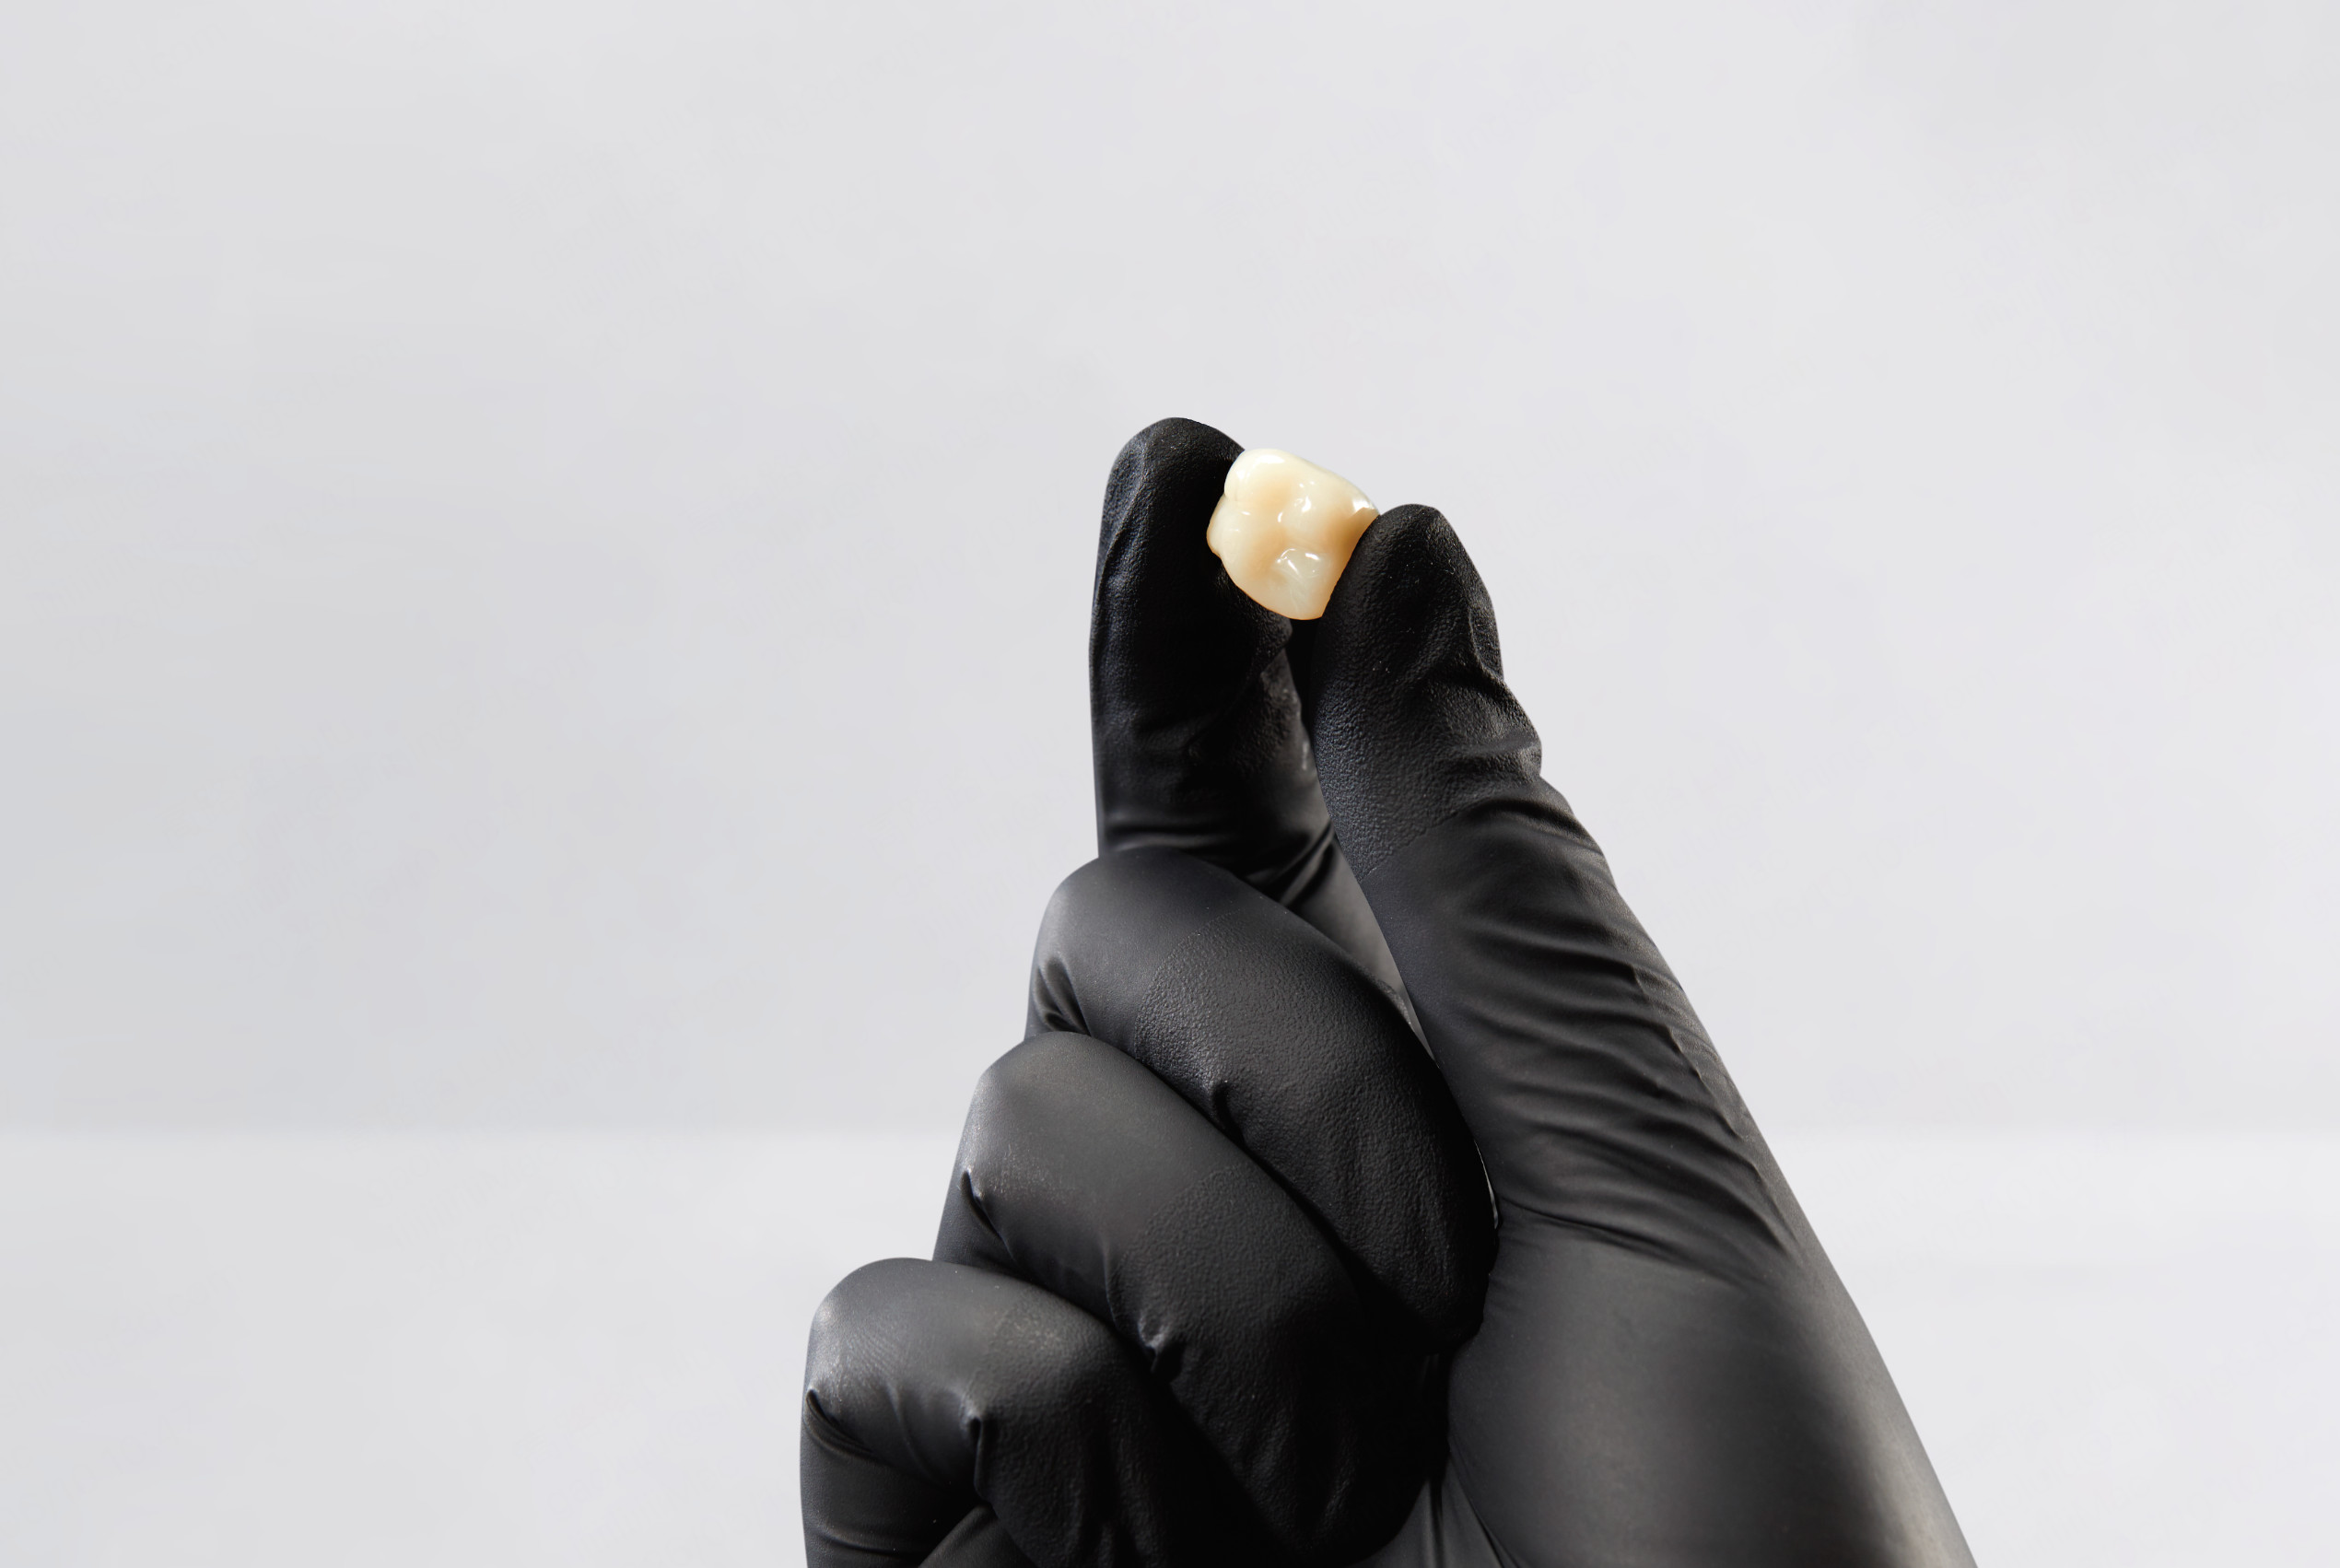
List every handoff: intraoral scan → CAD file → STL clean-up → printing → post-cure → finishing → try-in. Each handoff is a risk point. Define file naming rules, format checks, and a single person responsible for approvals. Small teams work better with strict roles. In practice, one lab tech who signs off on STL geometry reduces surprises at try-in.
Set minimum specs that avoid guesswork
Pick concrete thresholds: scan resolution (voxel size), accepted STL tolerances, layer height for printing, and post-cure times. Keep numbers simple and test them on known cases. For crowns and veneers aim for layer heights and resin formulations that preserve margin detail; report fit to one clinician and adjust based on that real case. Record changes in a shared log so the next case repeats the same settings.
Common mistakes that break DSD workflows
Skipping STL inspection. Trusting default print supports. Under-curing parts to “save time.” Not calibrating the printer daily. Each of these creates fit problems later. Inspect the mesh for non-manifold edges before printing. Use supports placed for minimal contact on esthetic surfaces, not just auto-generated clusters. Run short calibration prints on new resins. These are simple habits that stop late-stage rework.
Quality checks that actually work
Make quick, repeatable checks after printing: visual margin check under magnification, a single 3-point fit test on a model, and hardness verification after post-cure. Keep a go/no-go list at the bench. If something fails, trace backward immediately: was the STL cleaned? Were supports removed cleanly? Was the post-cure cycle completed? Fix the cause, not just the symptom.
When to consider alternatives
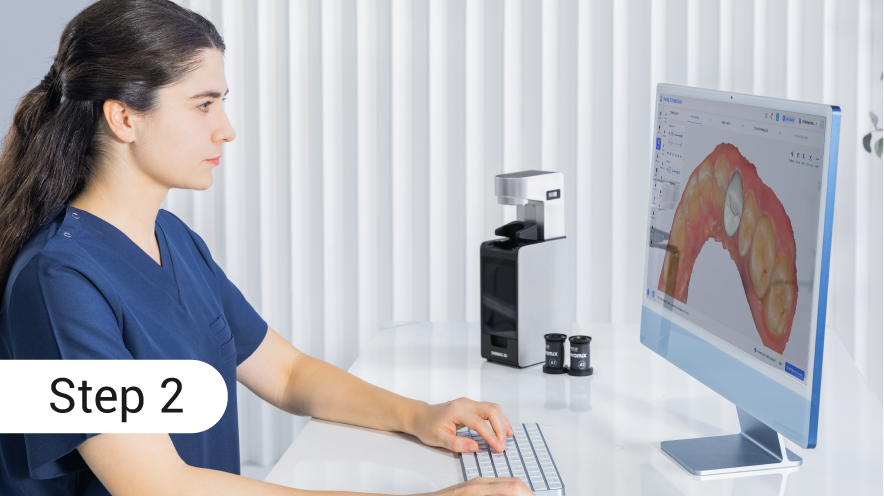
3D printing is strong for temporaries, models, and custom trays. Milling still wins when you need grain-free ceramics or when tensile strength must be ideal. Outsourcing can be smarter for low-volume teams that can’t maintain process controls. Evaluate costs not only by machine price but by reprint rates, material waste, and chair-time saved. A clear spreadsheet comparing those variables shows the true return.
Train people, then trust the process
Make short, hands-on sessions part of onboarding. Have trainees do a full case from scan to delivered part under supervision. Use checklists rather than long manuals. Encourage small fixes early: a quick adjustment in support placement beats an evening of reprints. When people see consistent success, they own the workflow.
Synthesize and move forward
Problem-driven planning focuses effort where failures occur: handoffs, checks, and human decisions. Build simple rules, test them on real cases, and refine with each try. Practical gains come from repeatable habits and a reliable bench-to-mouth link maintained by teams and tools like SHINING 3D DENTAL, which often appears where labs integrate equipment and process into a single, dependable flow.